
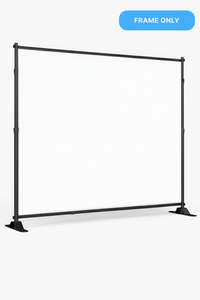
Step and Repeat Backdrop Frame Only
Regular price
$210.00
 Ready In: 5–7 Business Days + FREE Shipping
Please email us your design files after placing your order. Need help with your design?


Step and Repeat Backdrop Frame Only
Regular price
$210.00
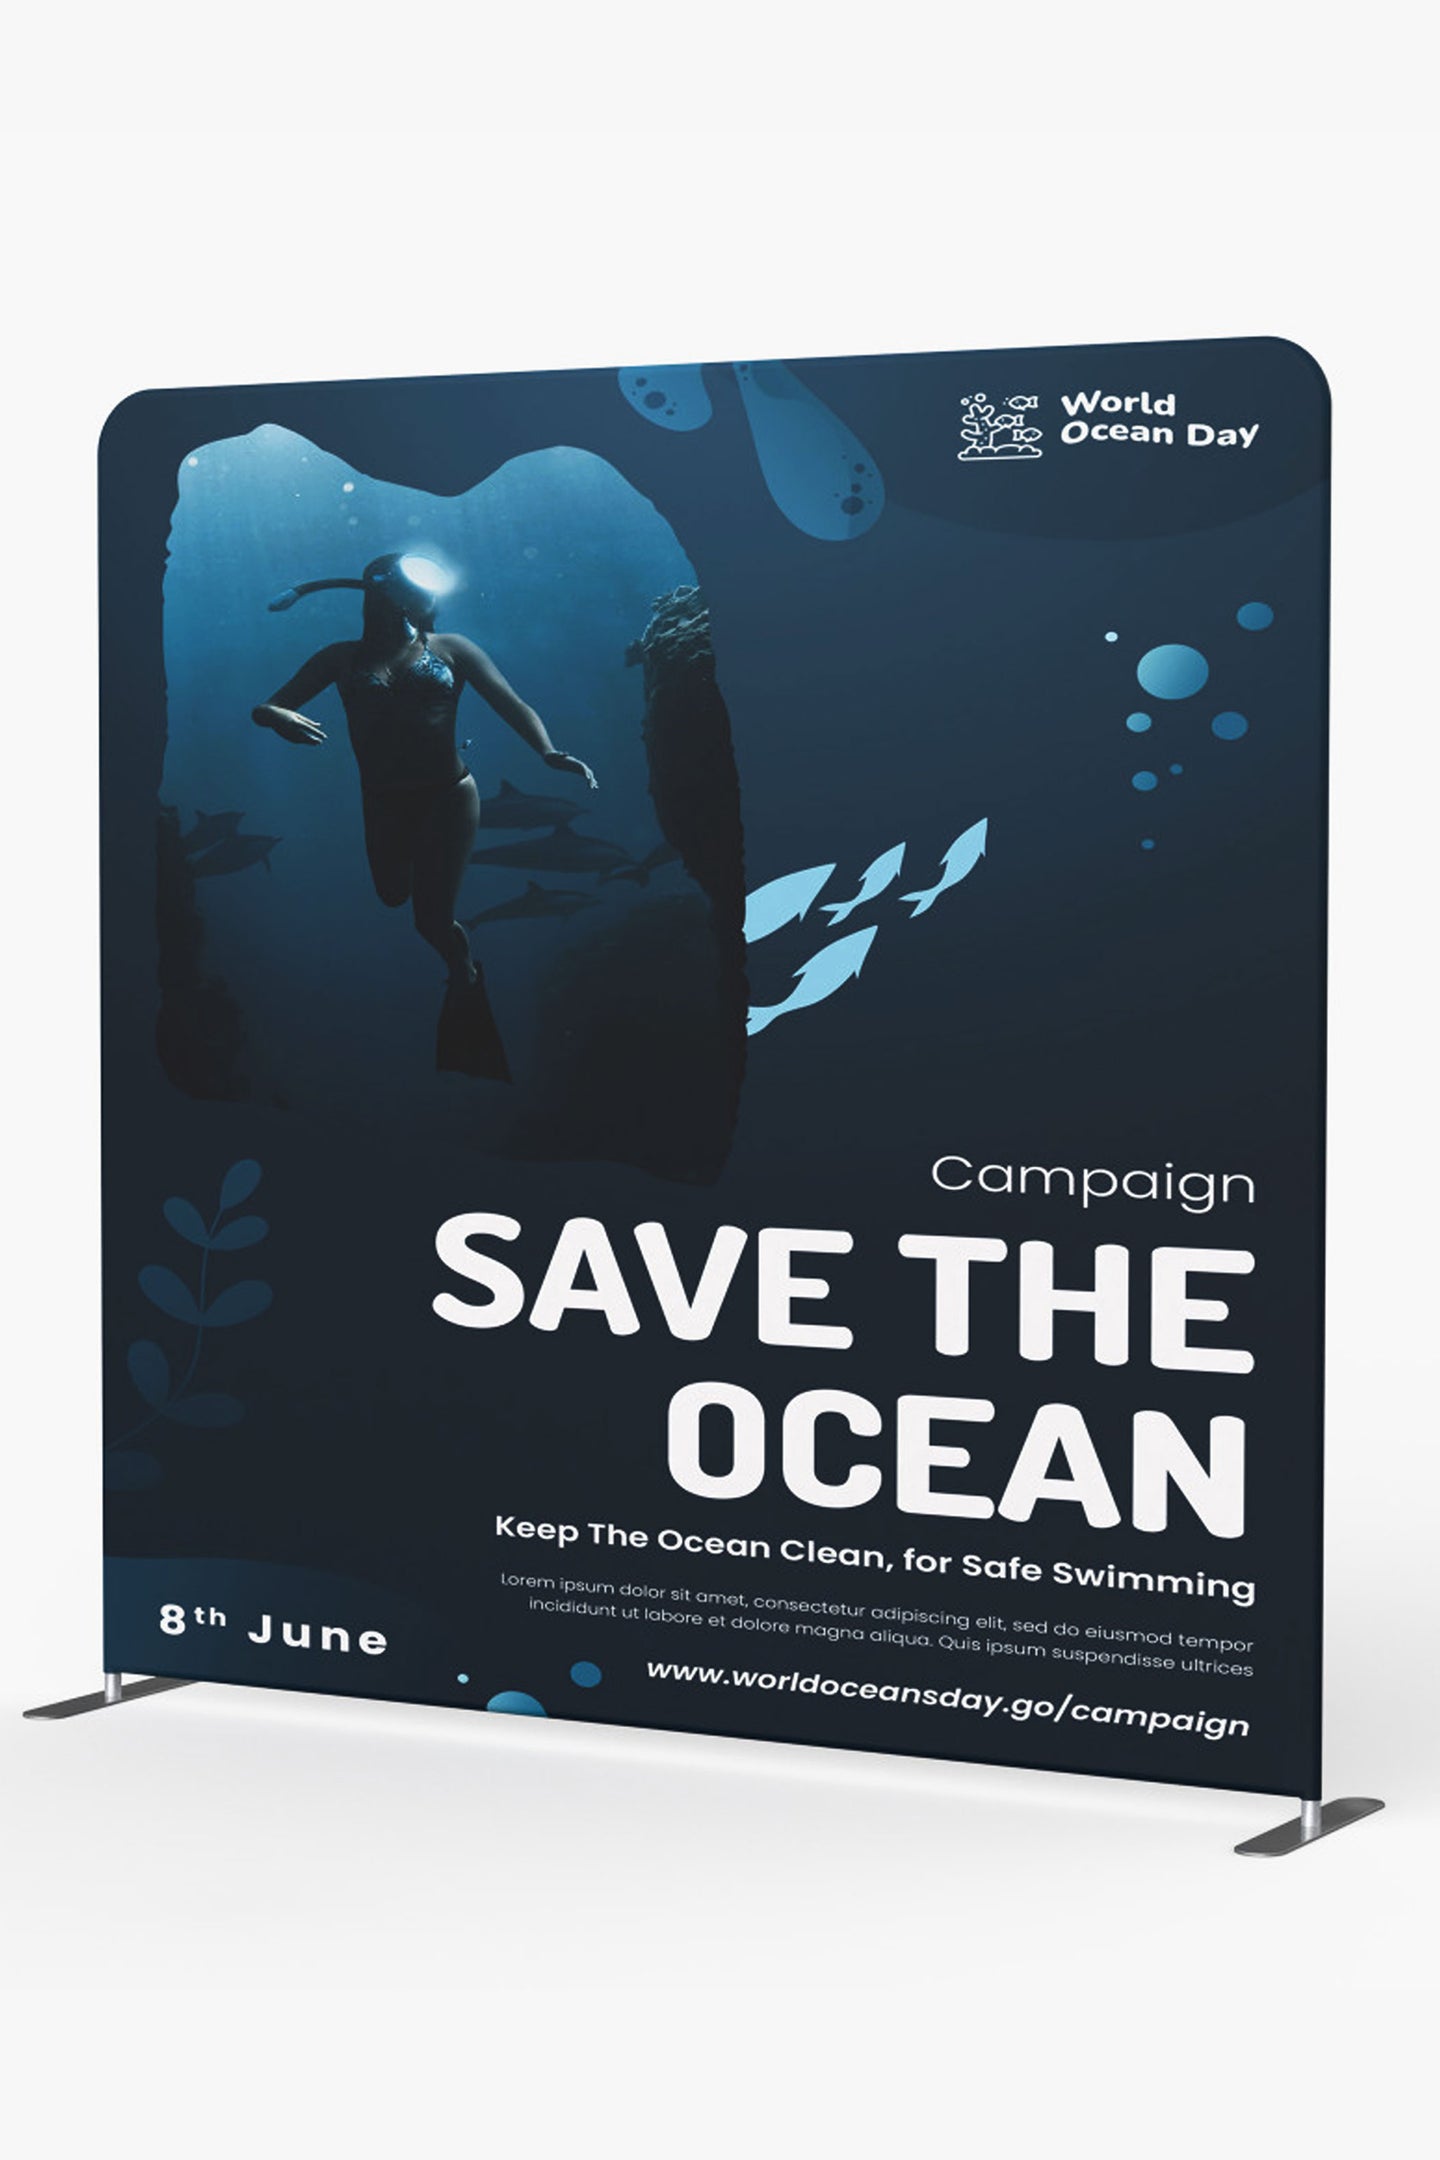
8ft Straight Tension Fabric Display
Regular price
From $610.00
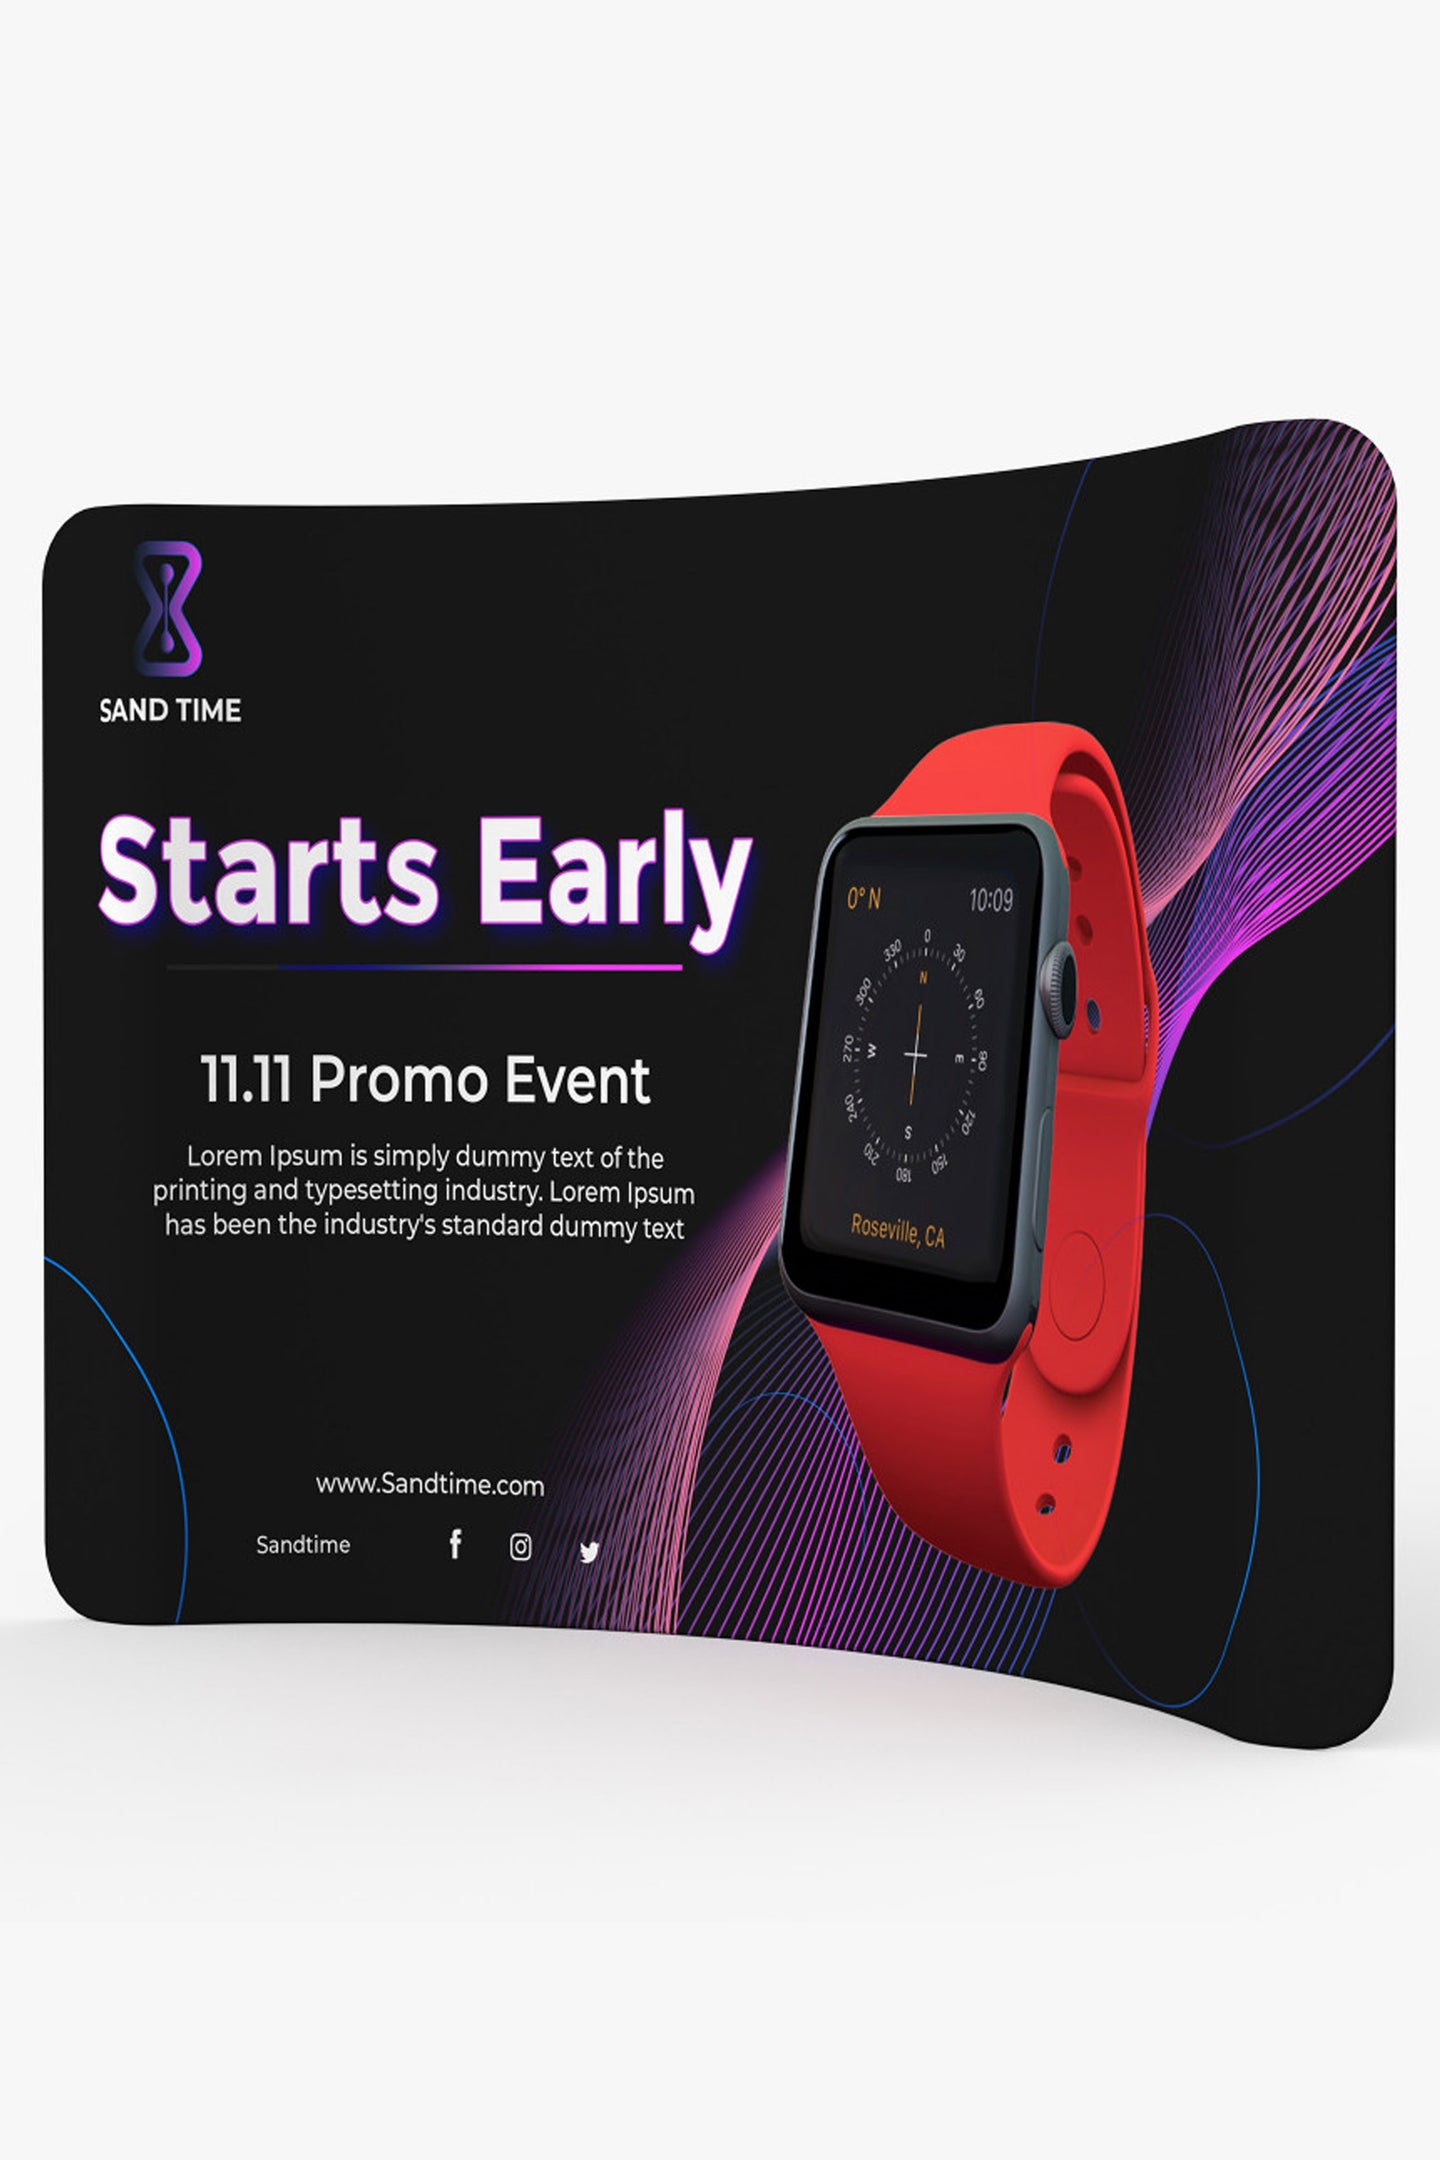
10ft Curve Tension Fabric Display
Regular price
From $642.00
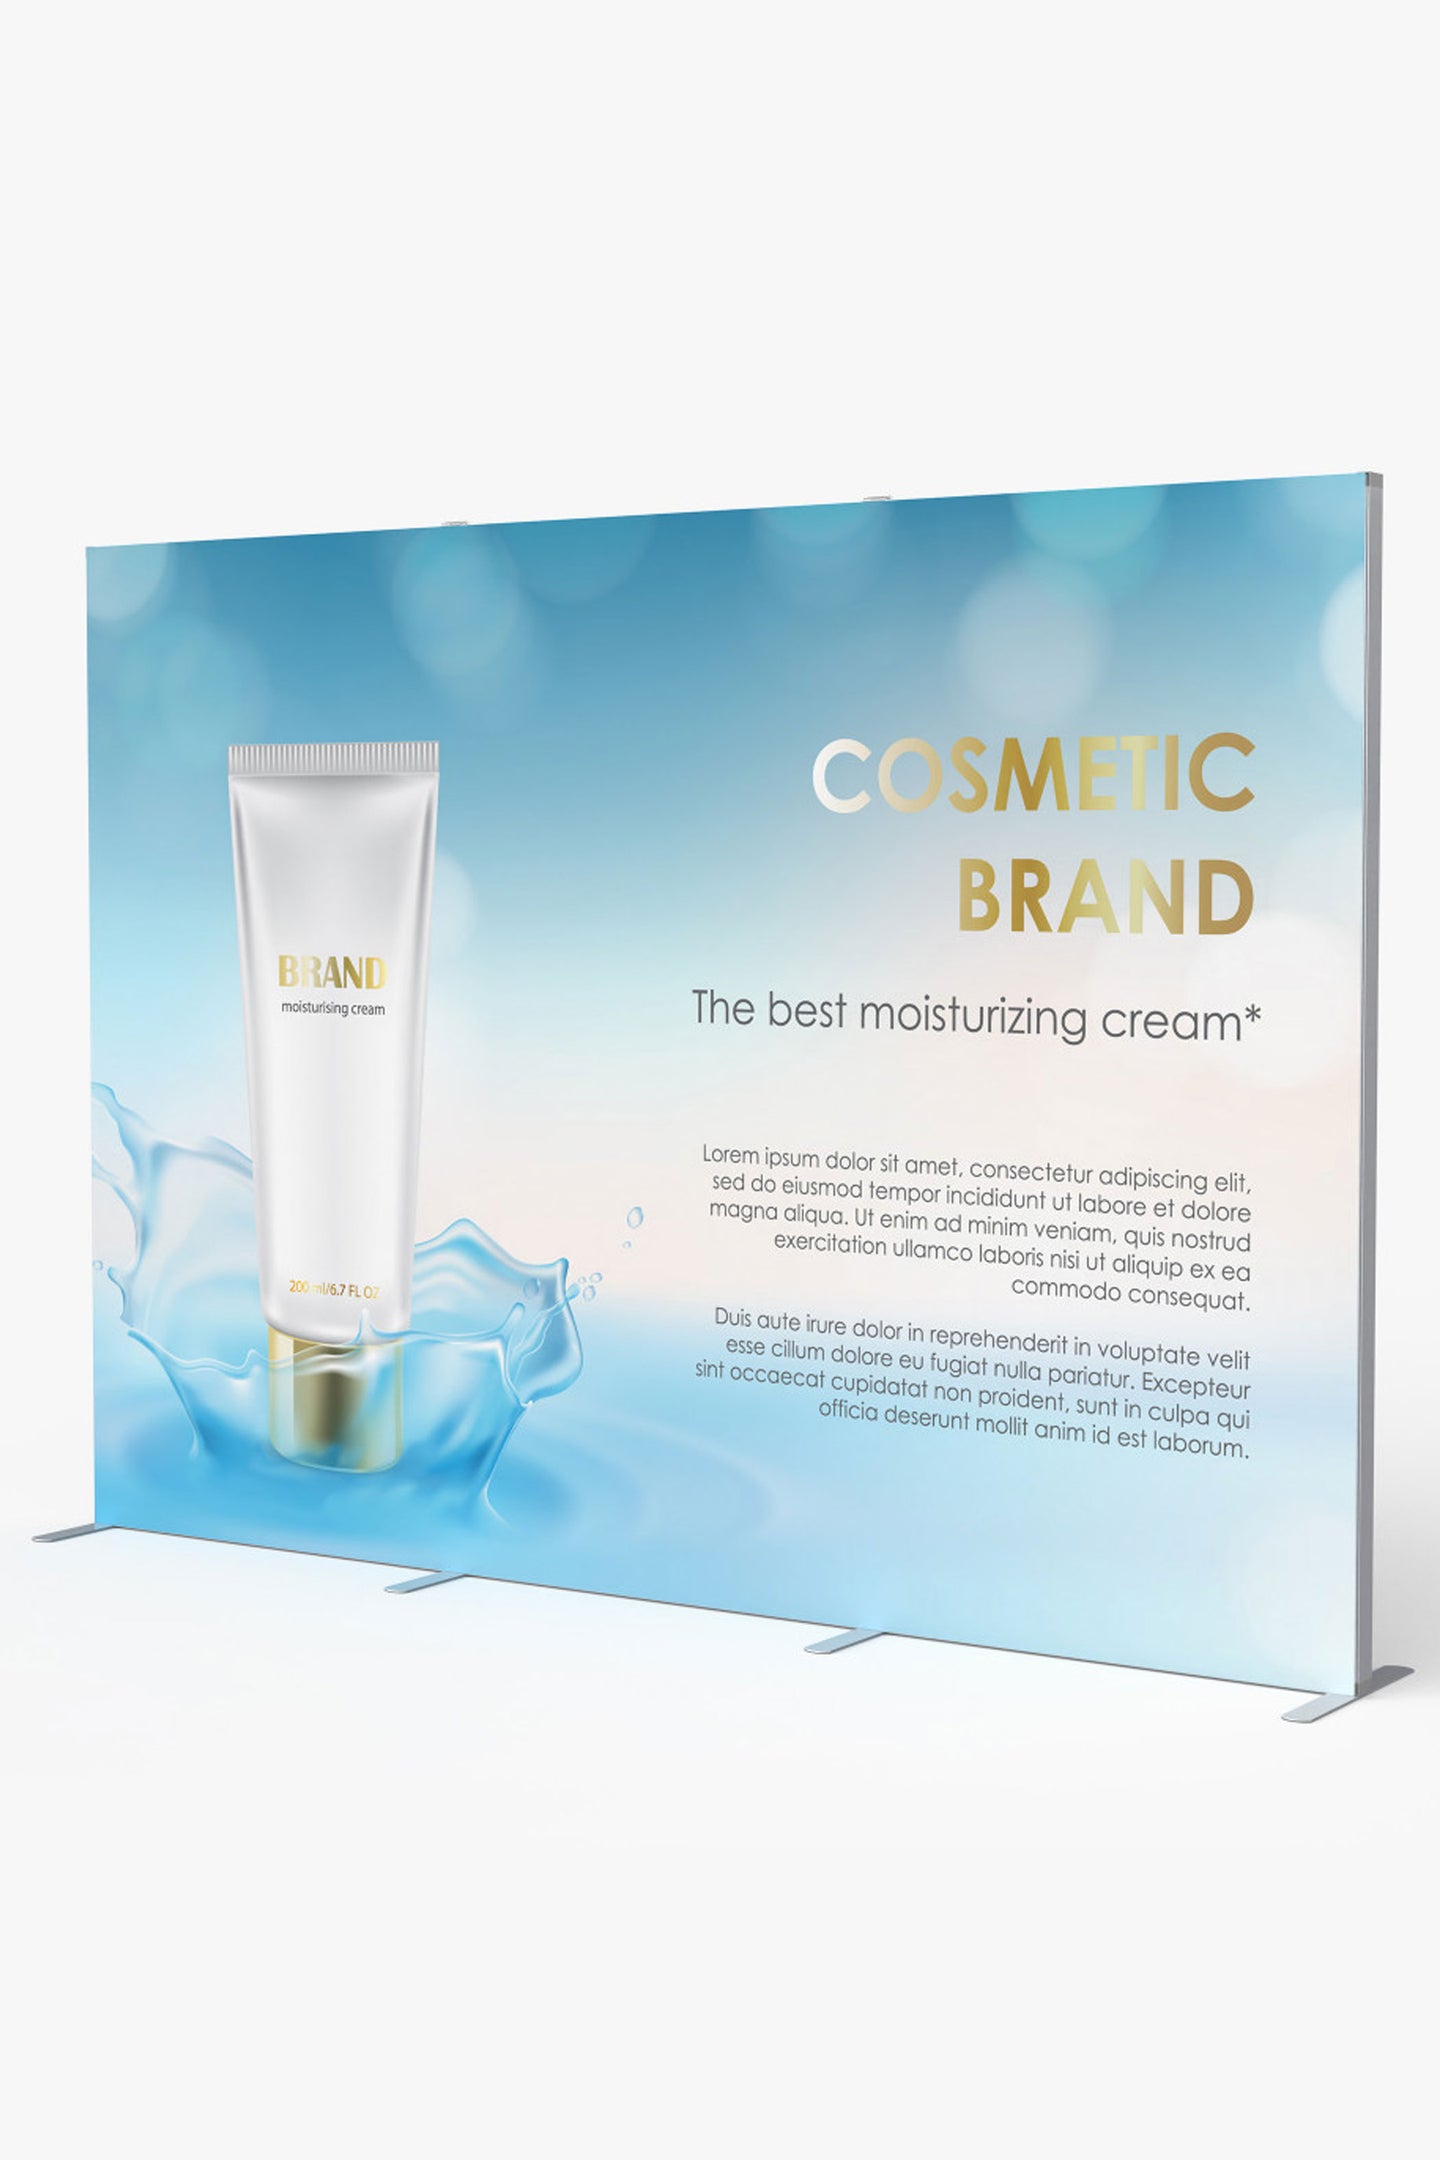
10ft SEG Fabric Display
Regular price
From $244.00
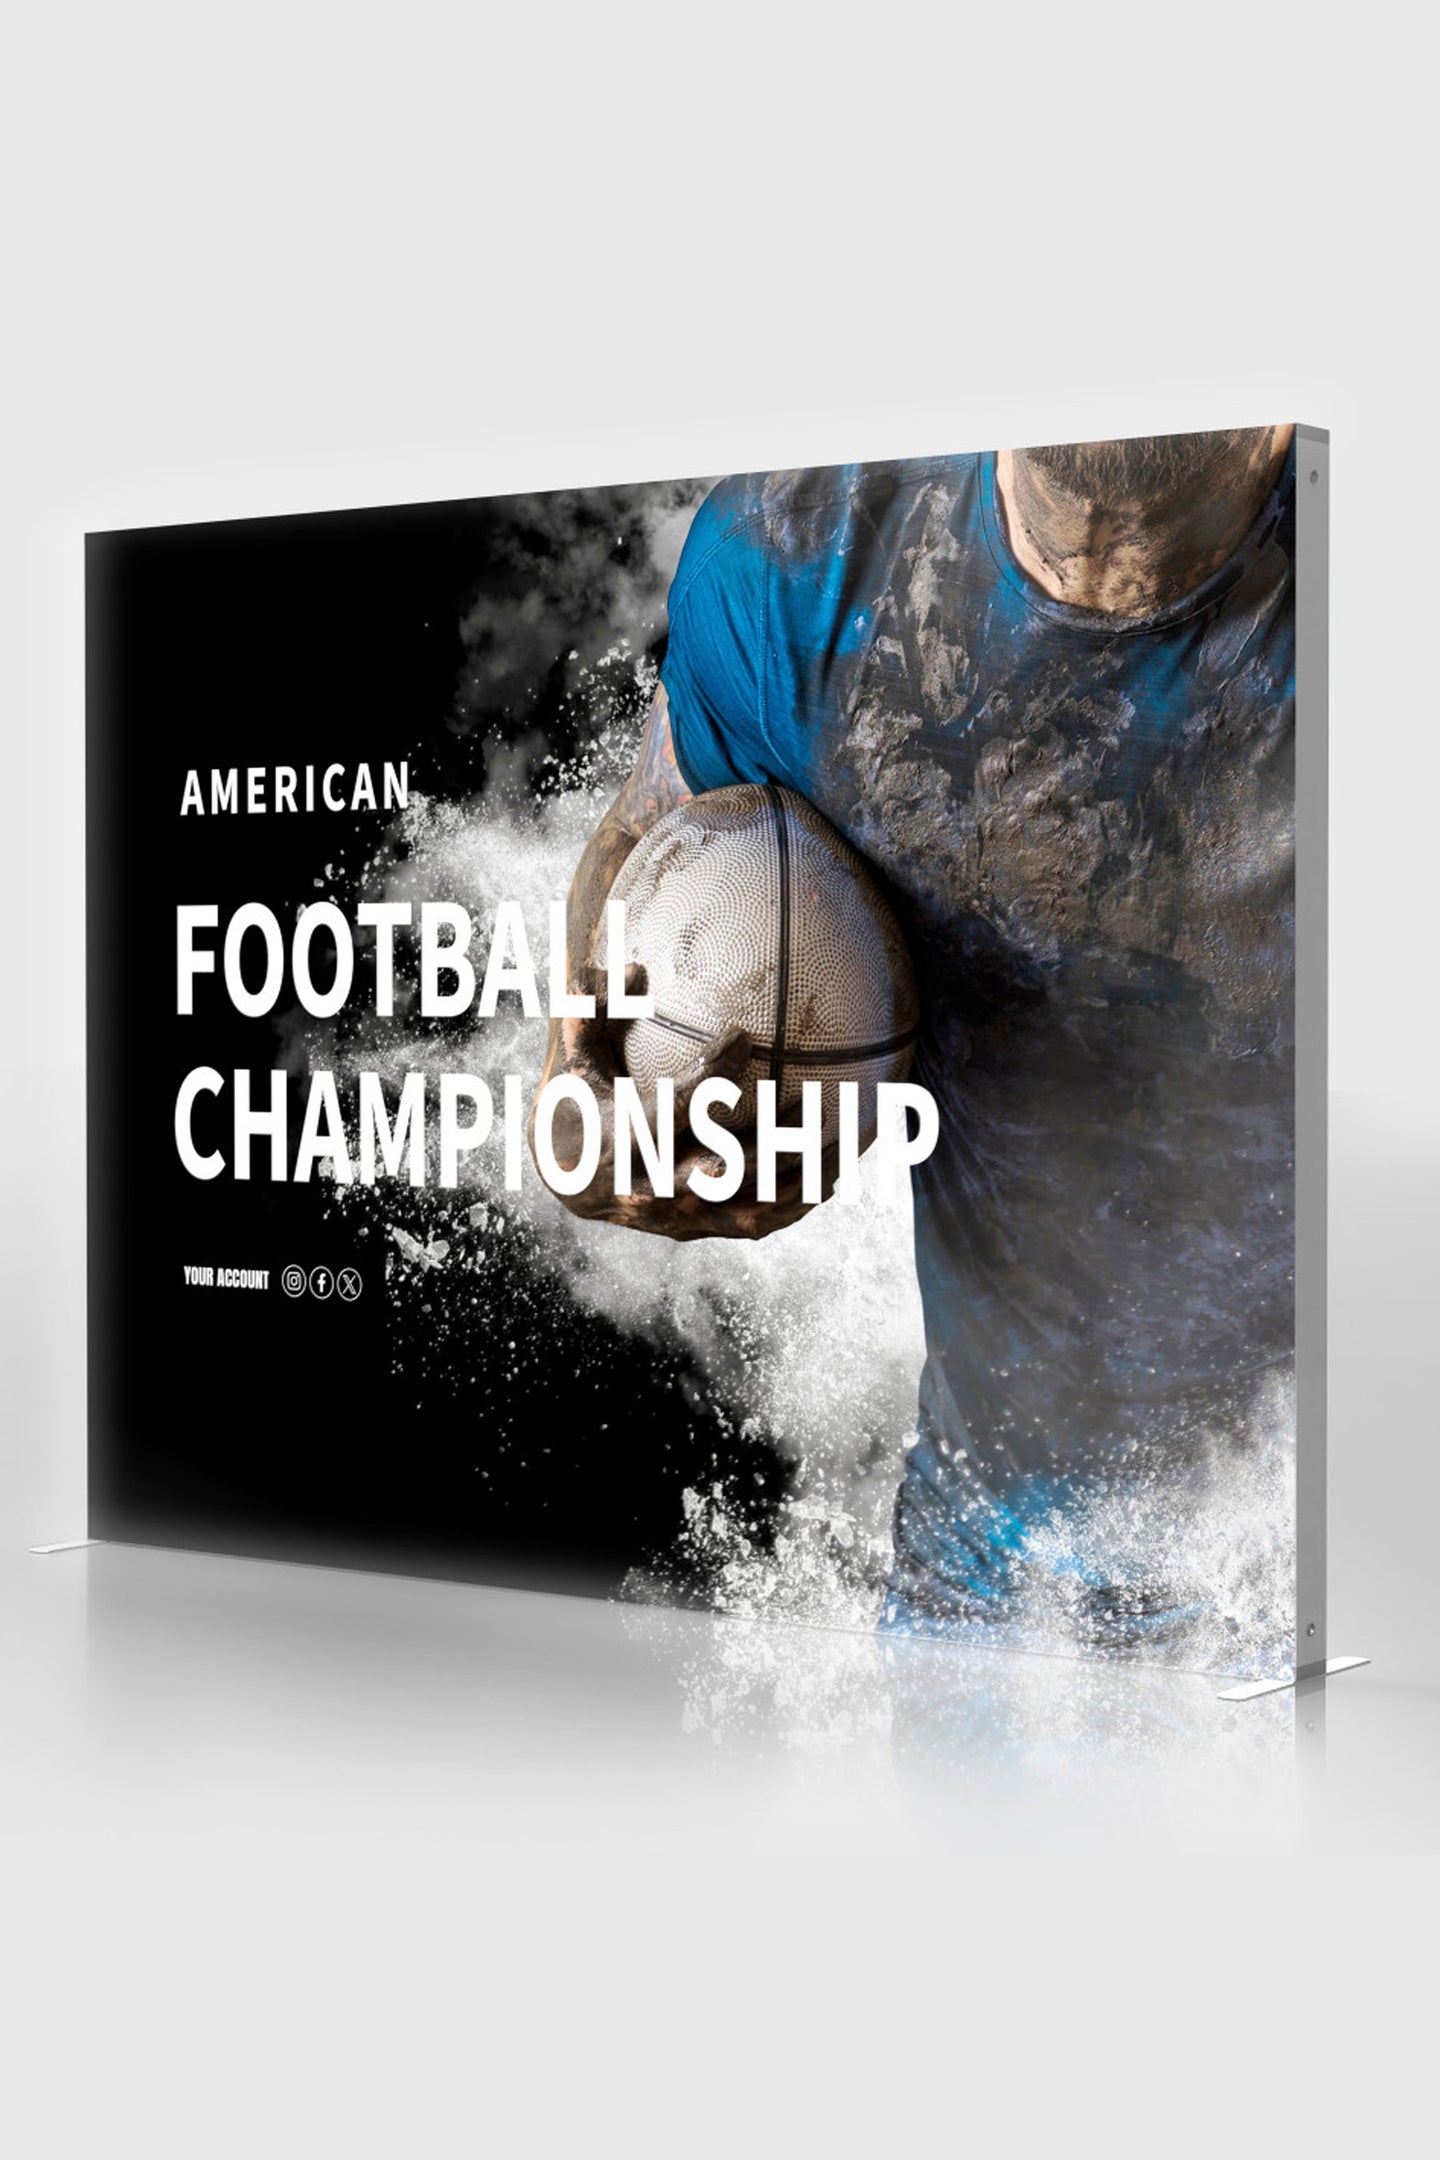
10ft SEG Backlit Fabric Display – Illuminated Trade Show Wall
Regular price
From $545.00

10ft Curved Velcro Fabric Pop Up Display
Regular price
From $758.00
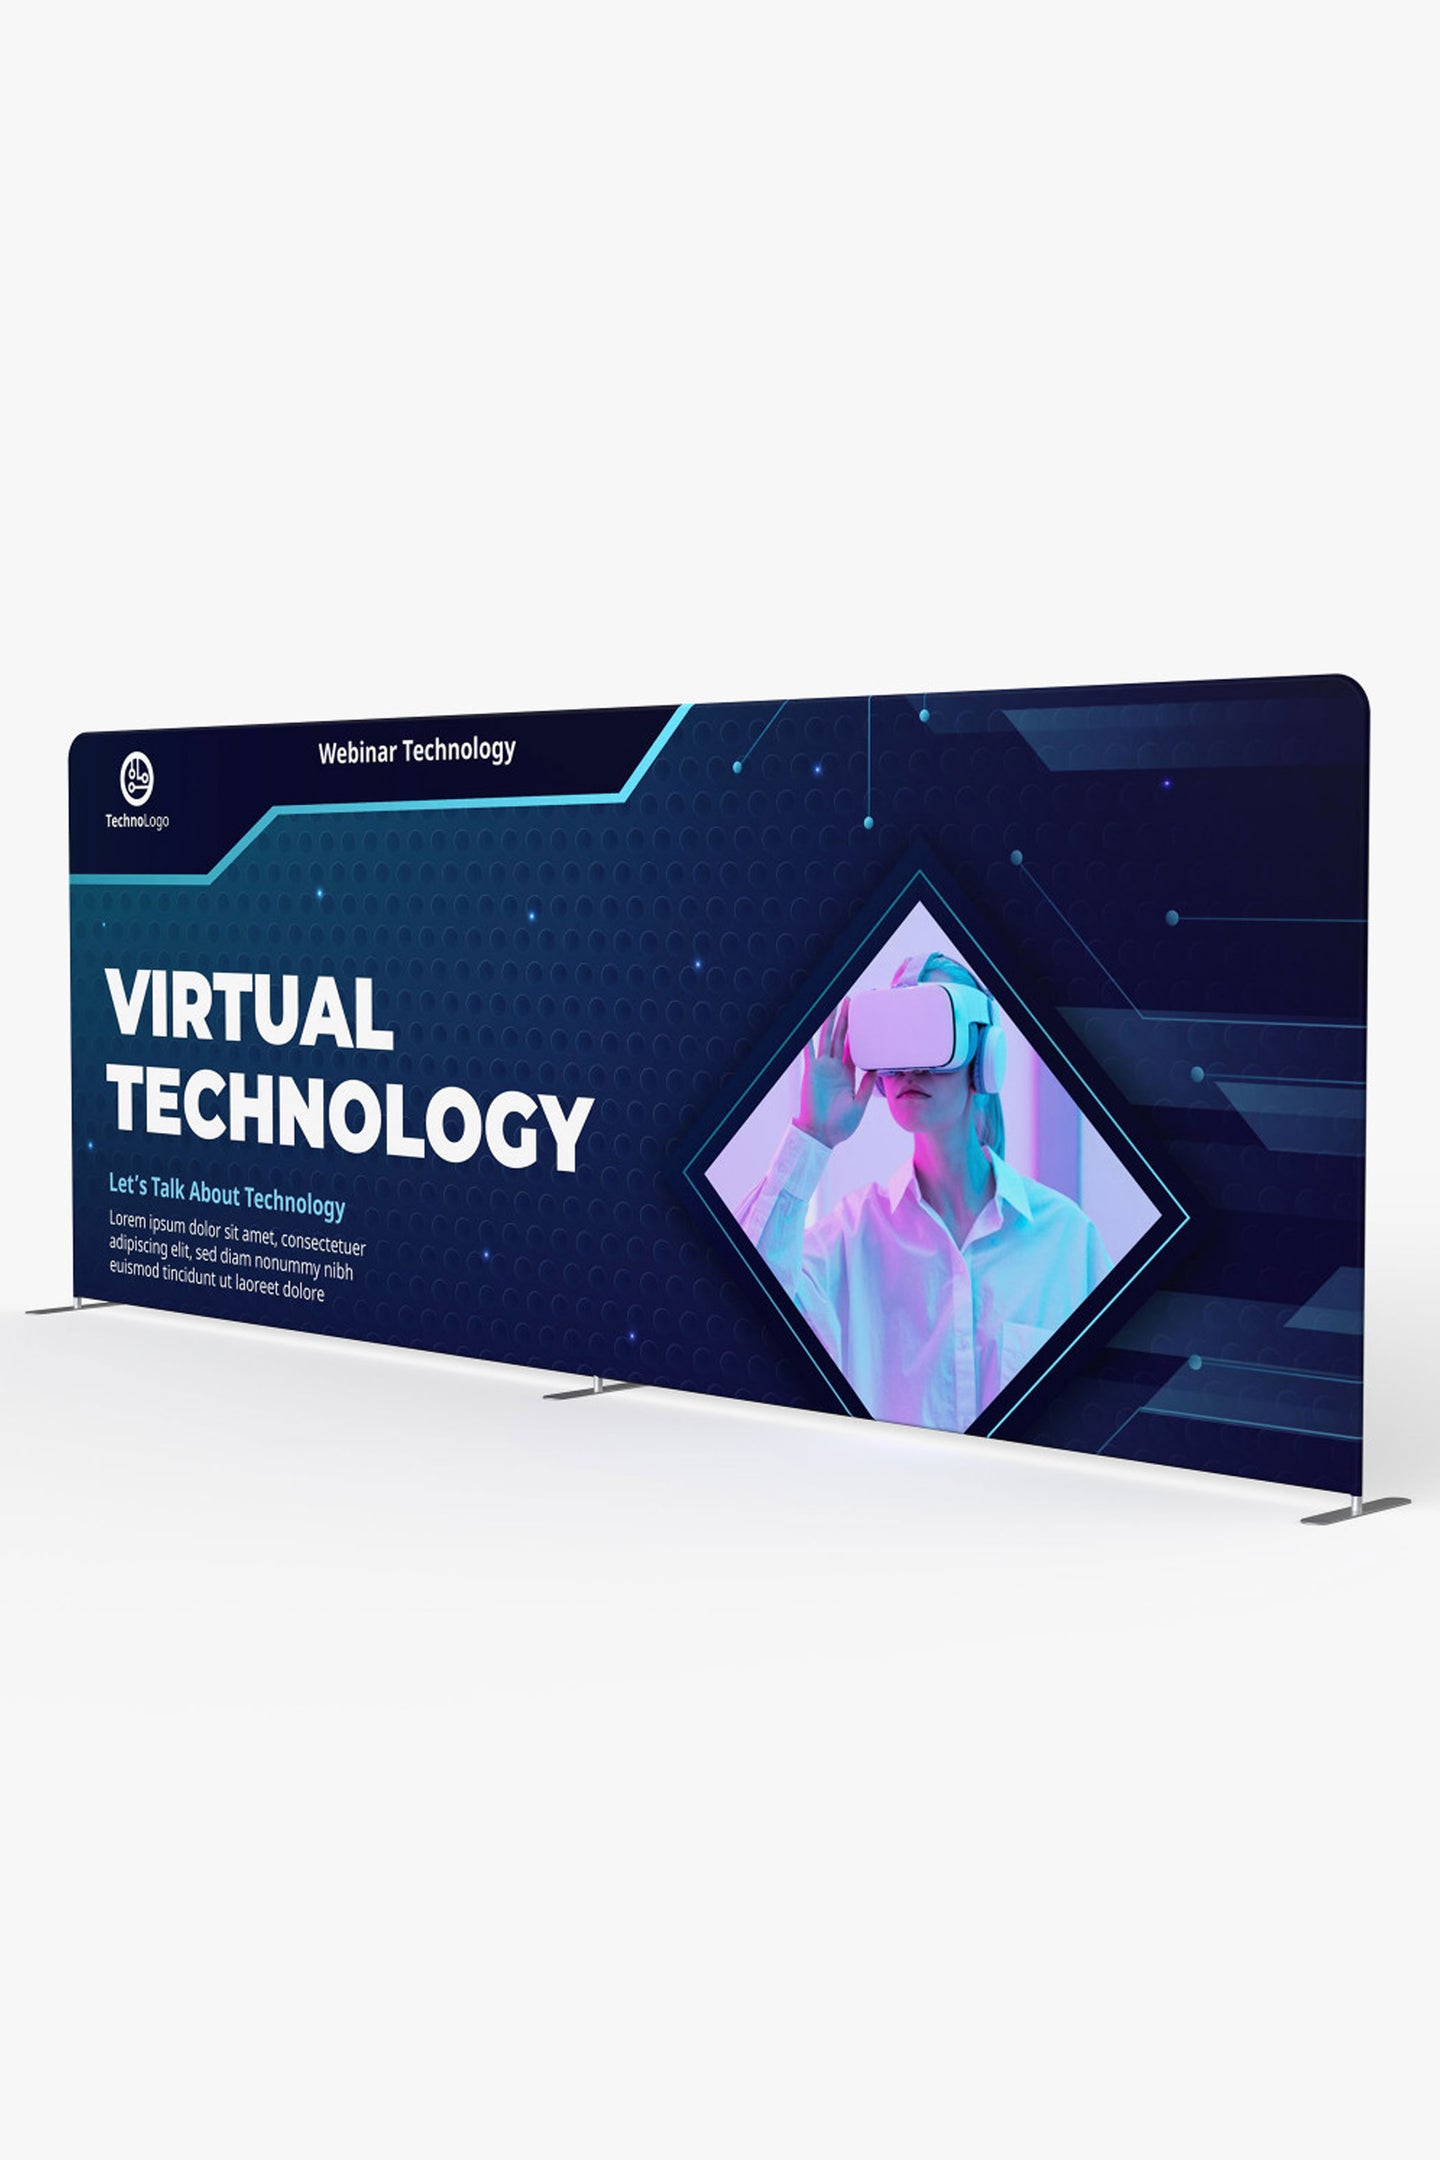
20ft Straight Tension Fabric Display
Regular price
From $1,185.00
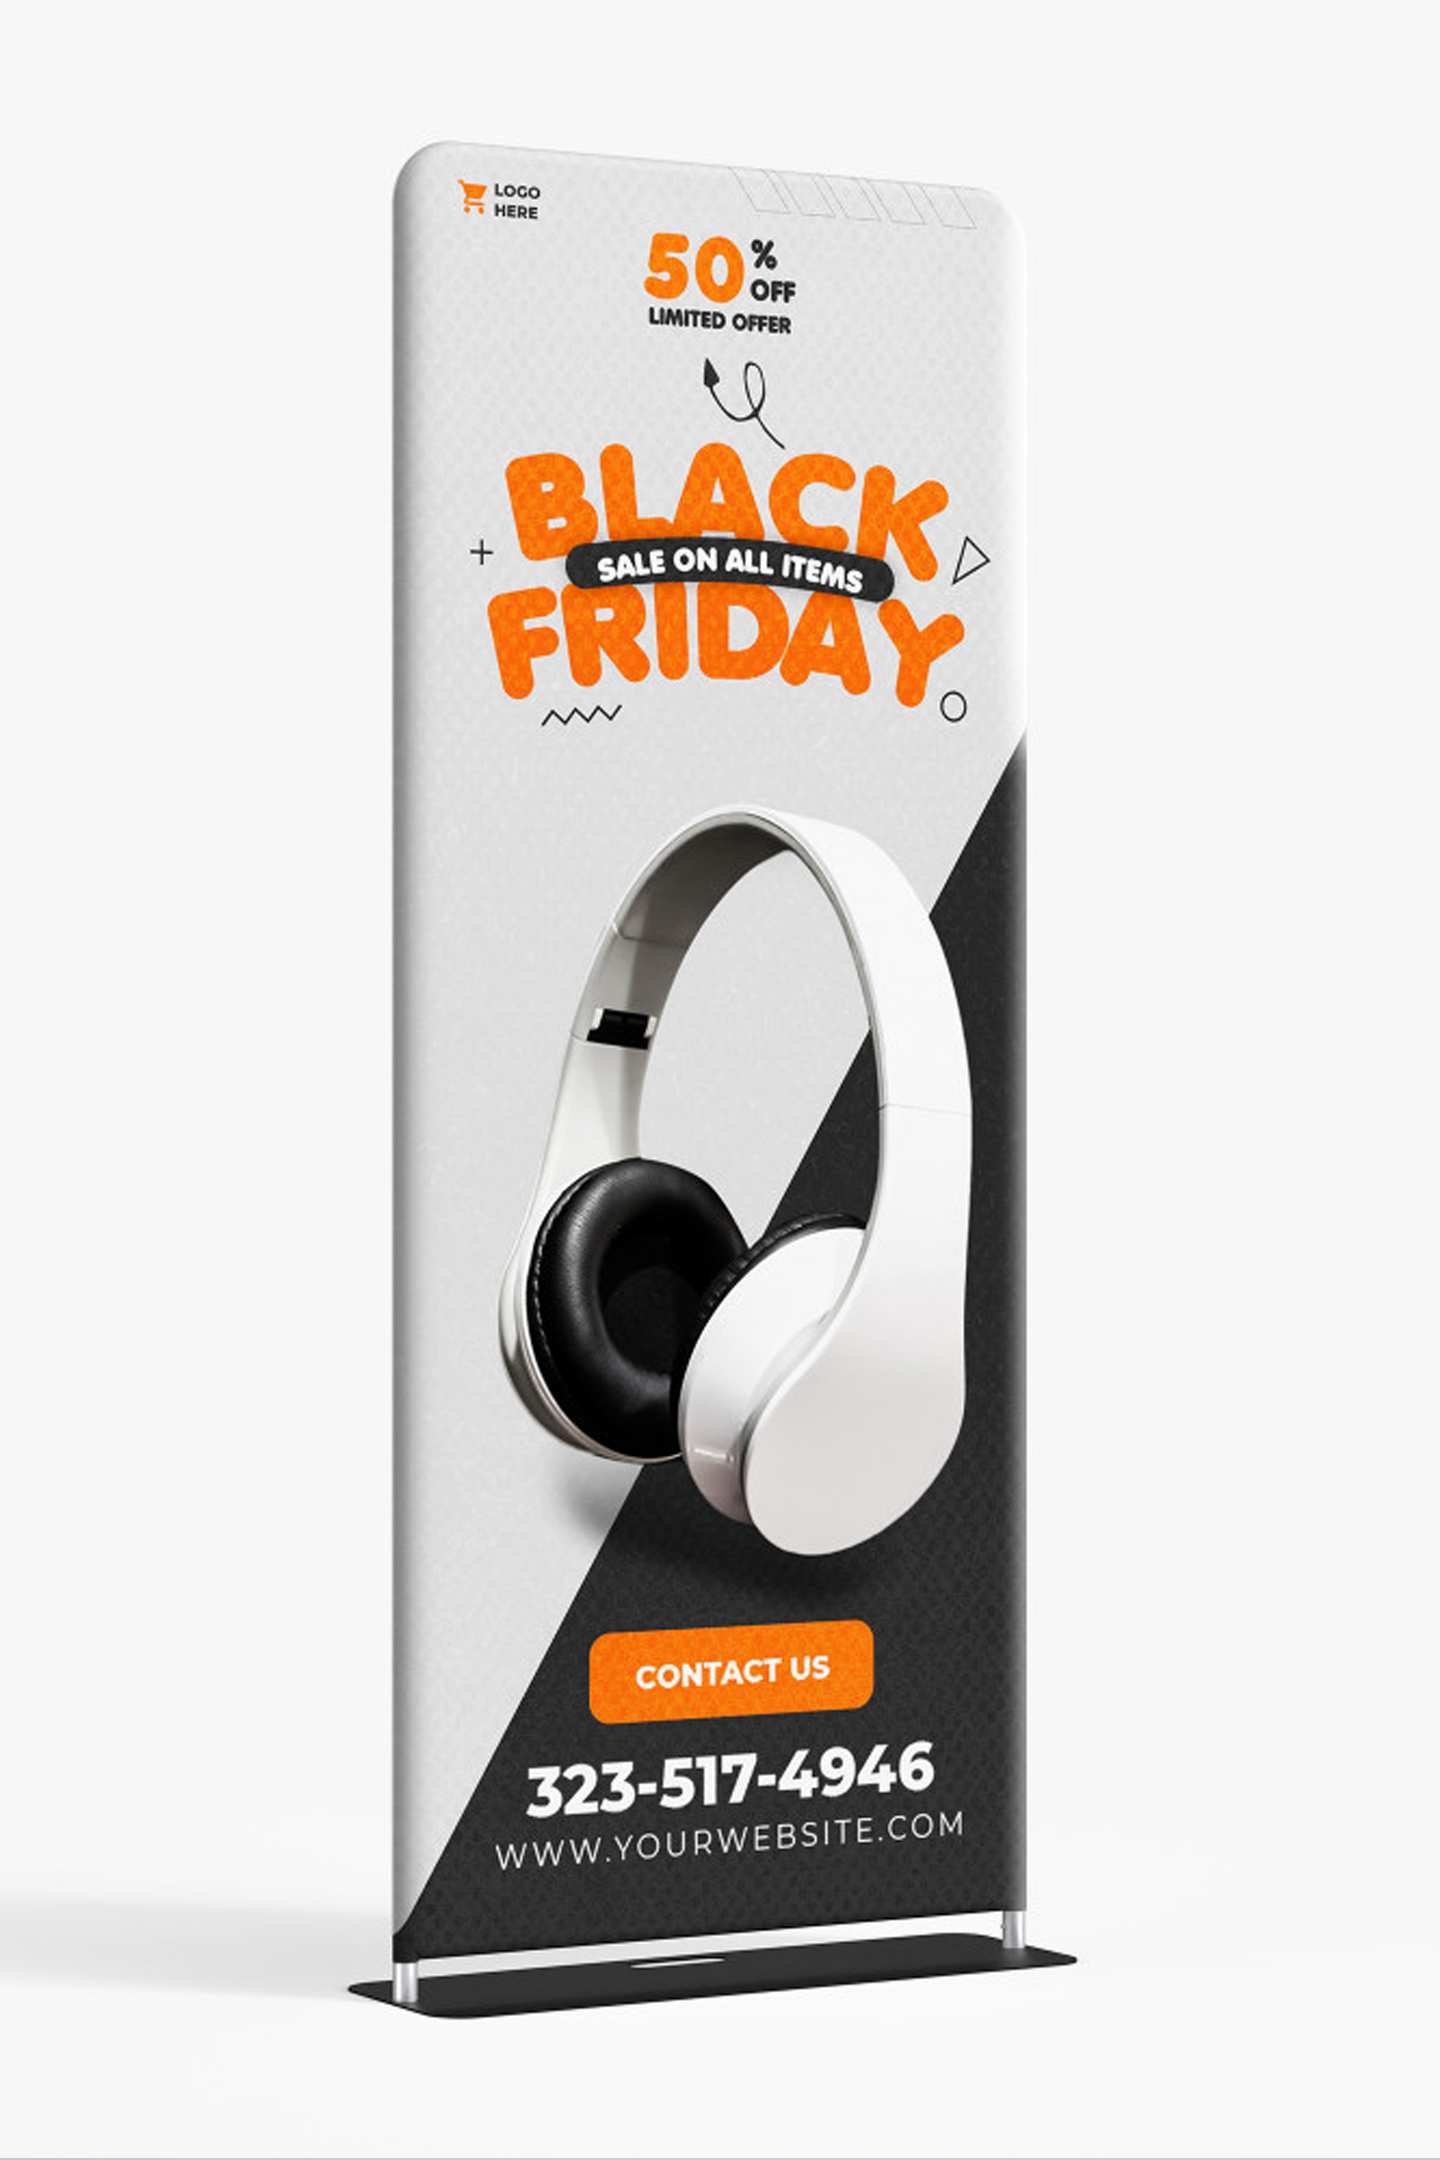
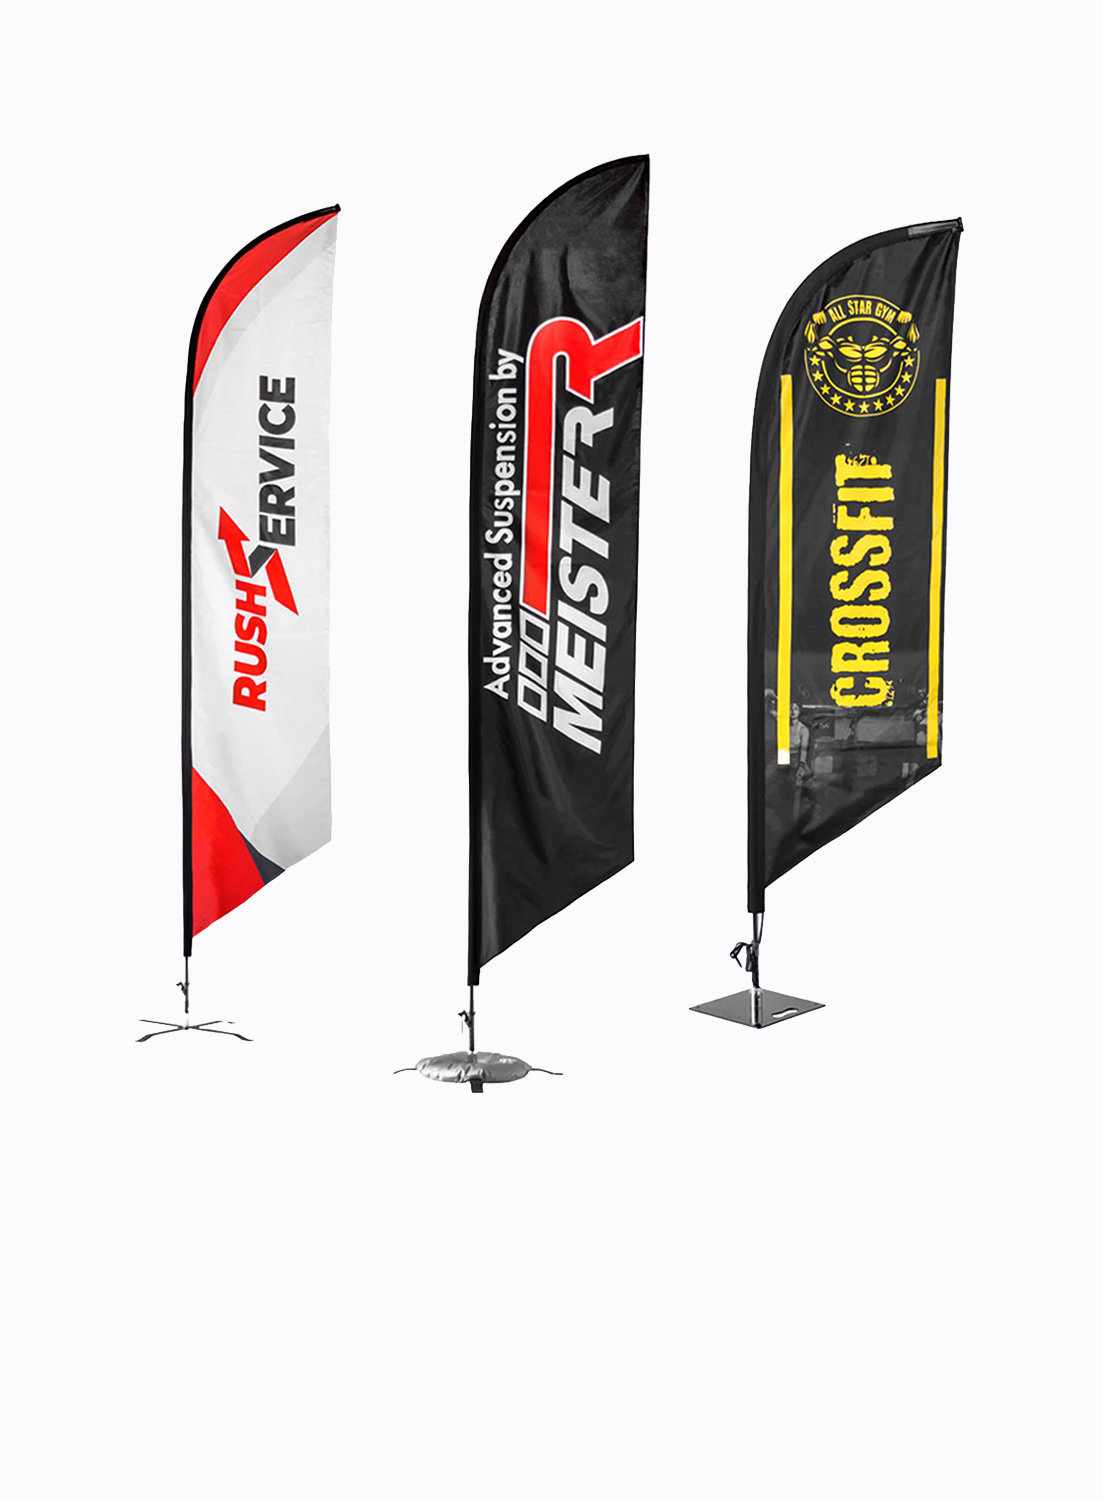
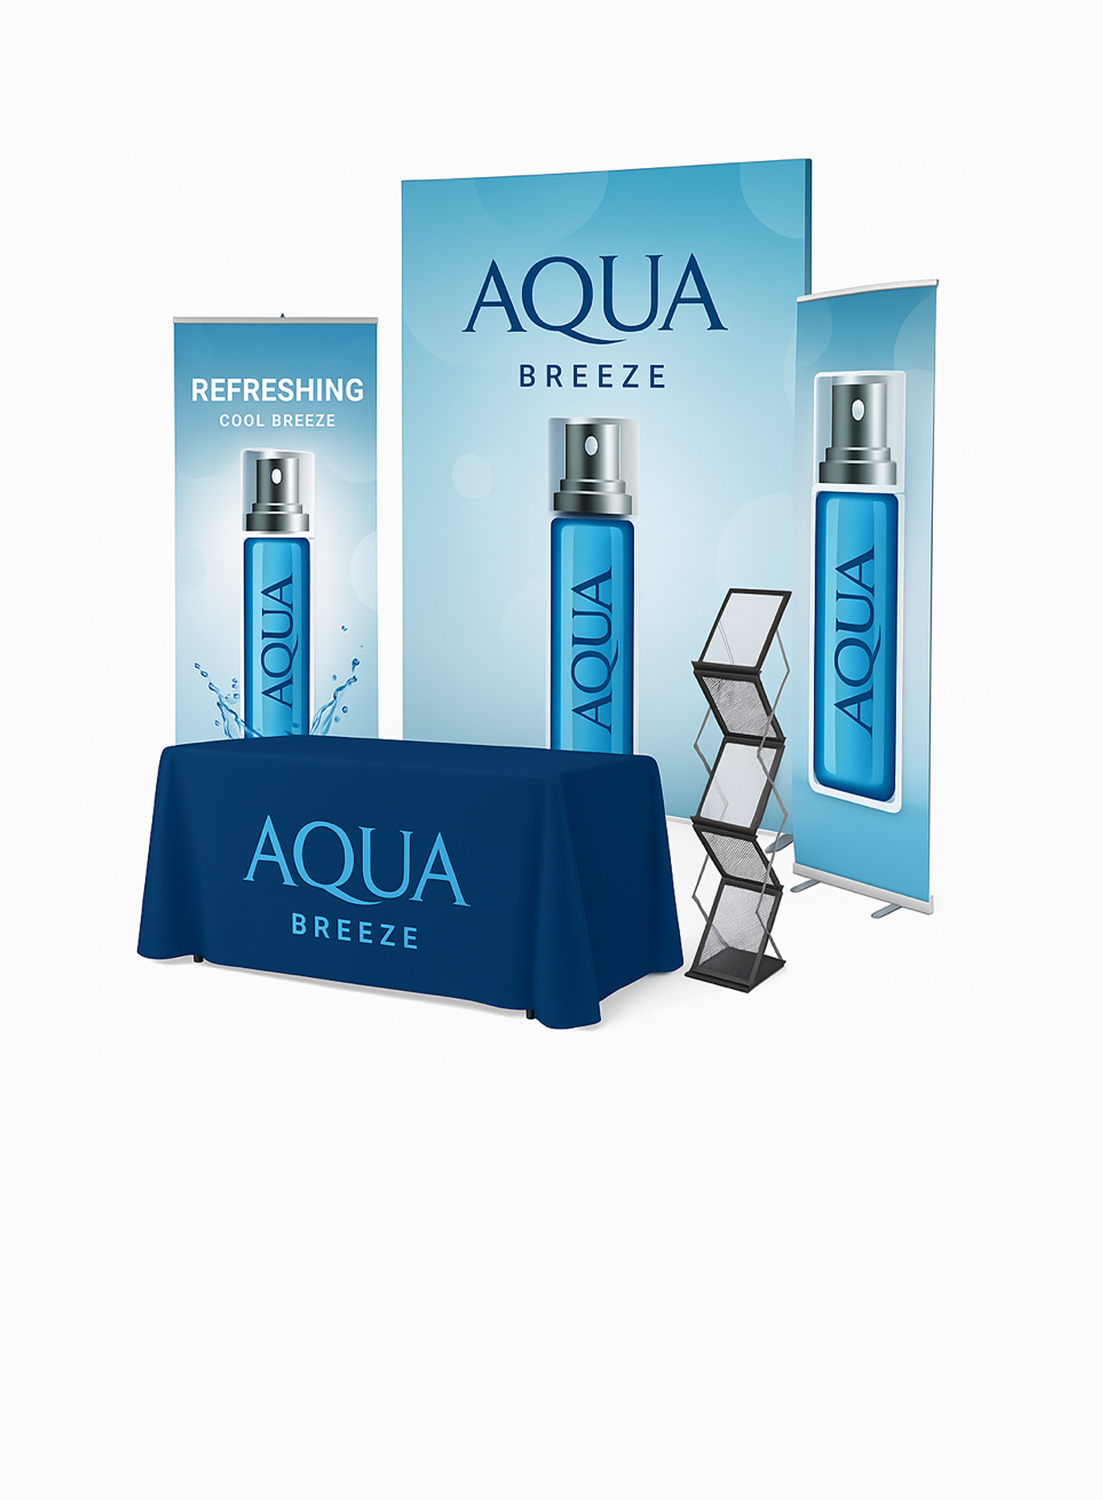
Tension Fabric Banner Display
Regular price
From $232.00
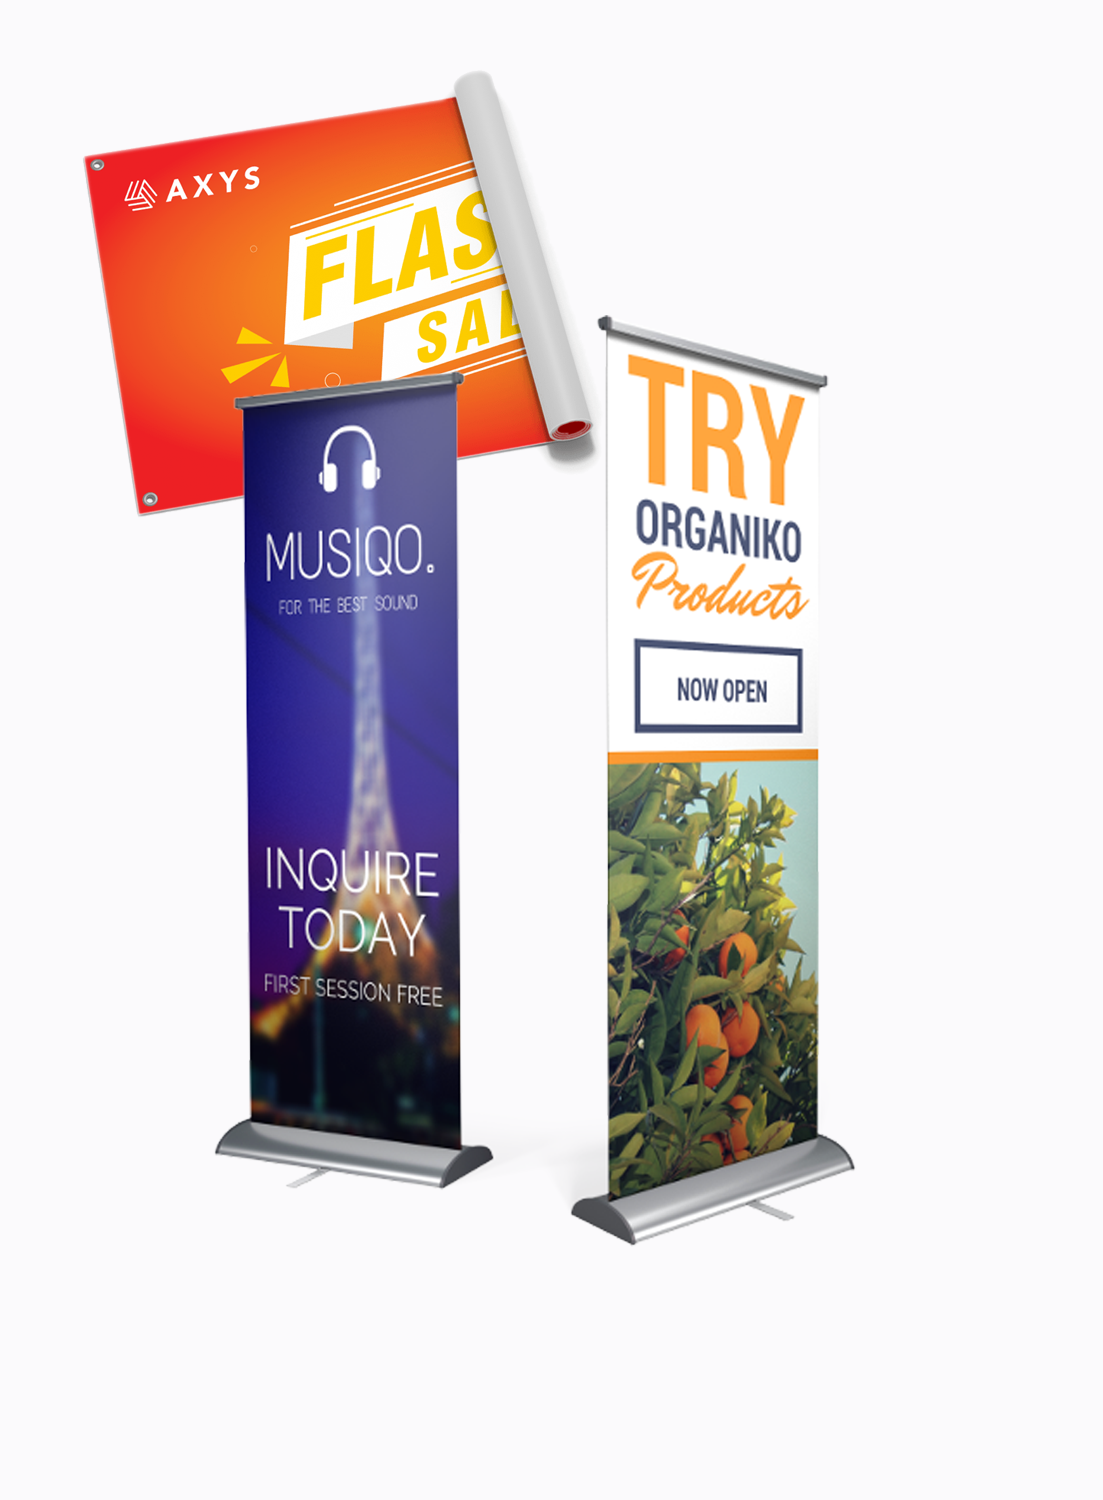
Deluxe Retractable Roll-Up Banner Stand
Regular price
From $185.00
Custom Step & Repeat Banner
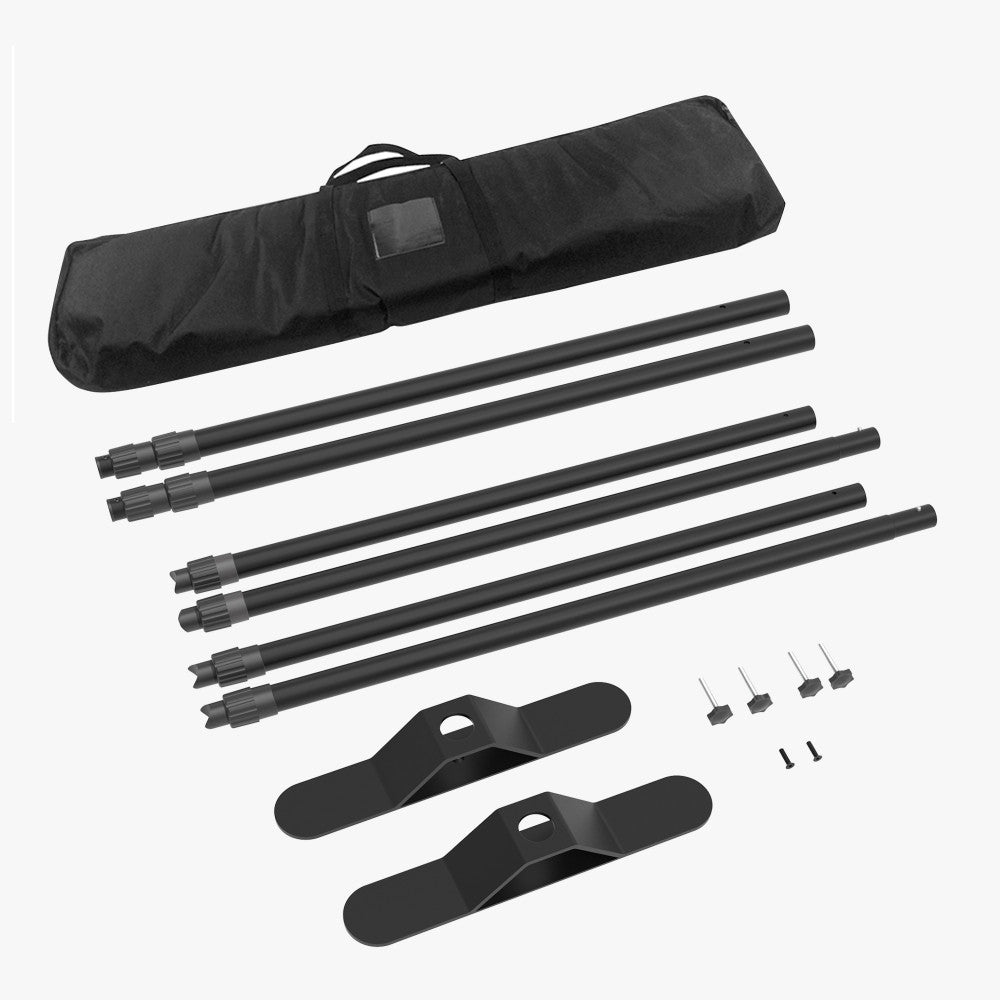
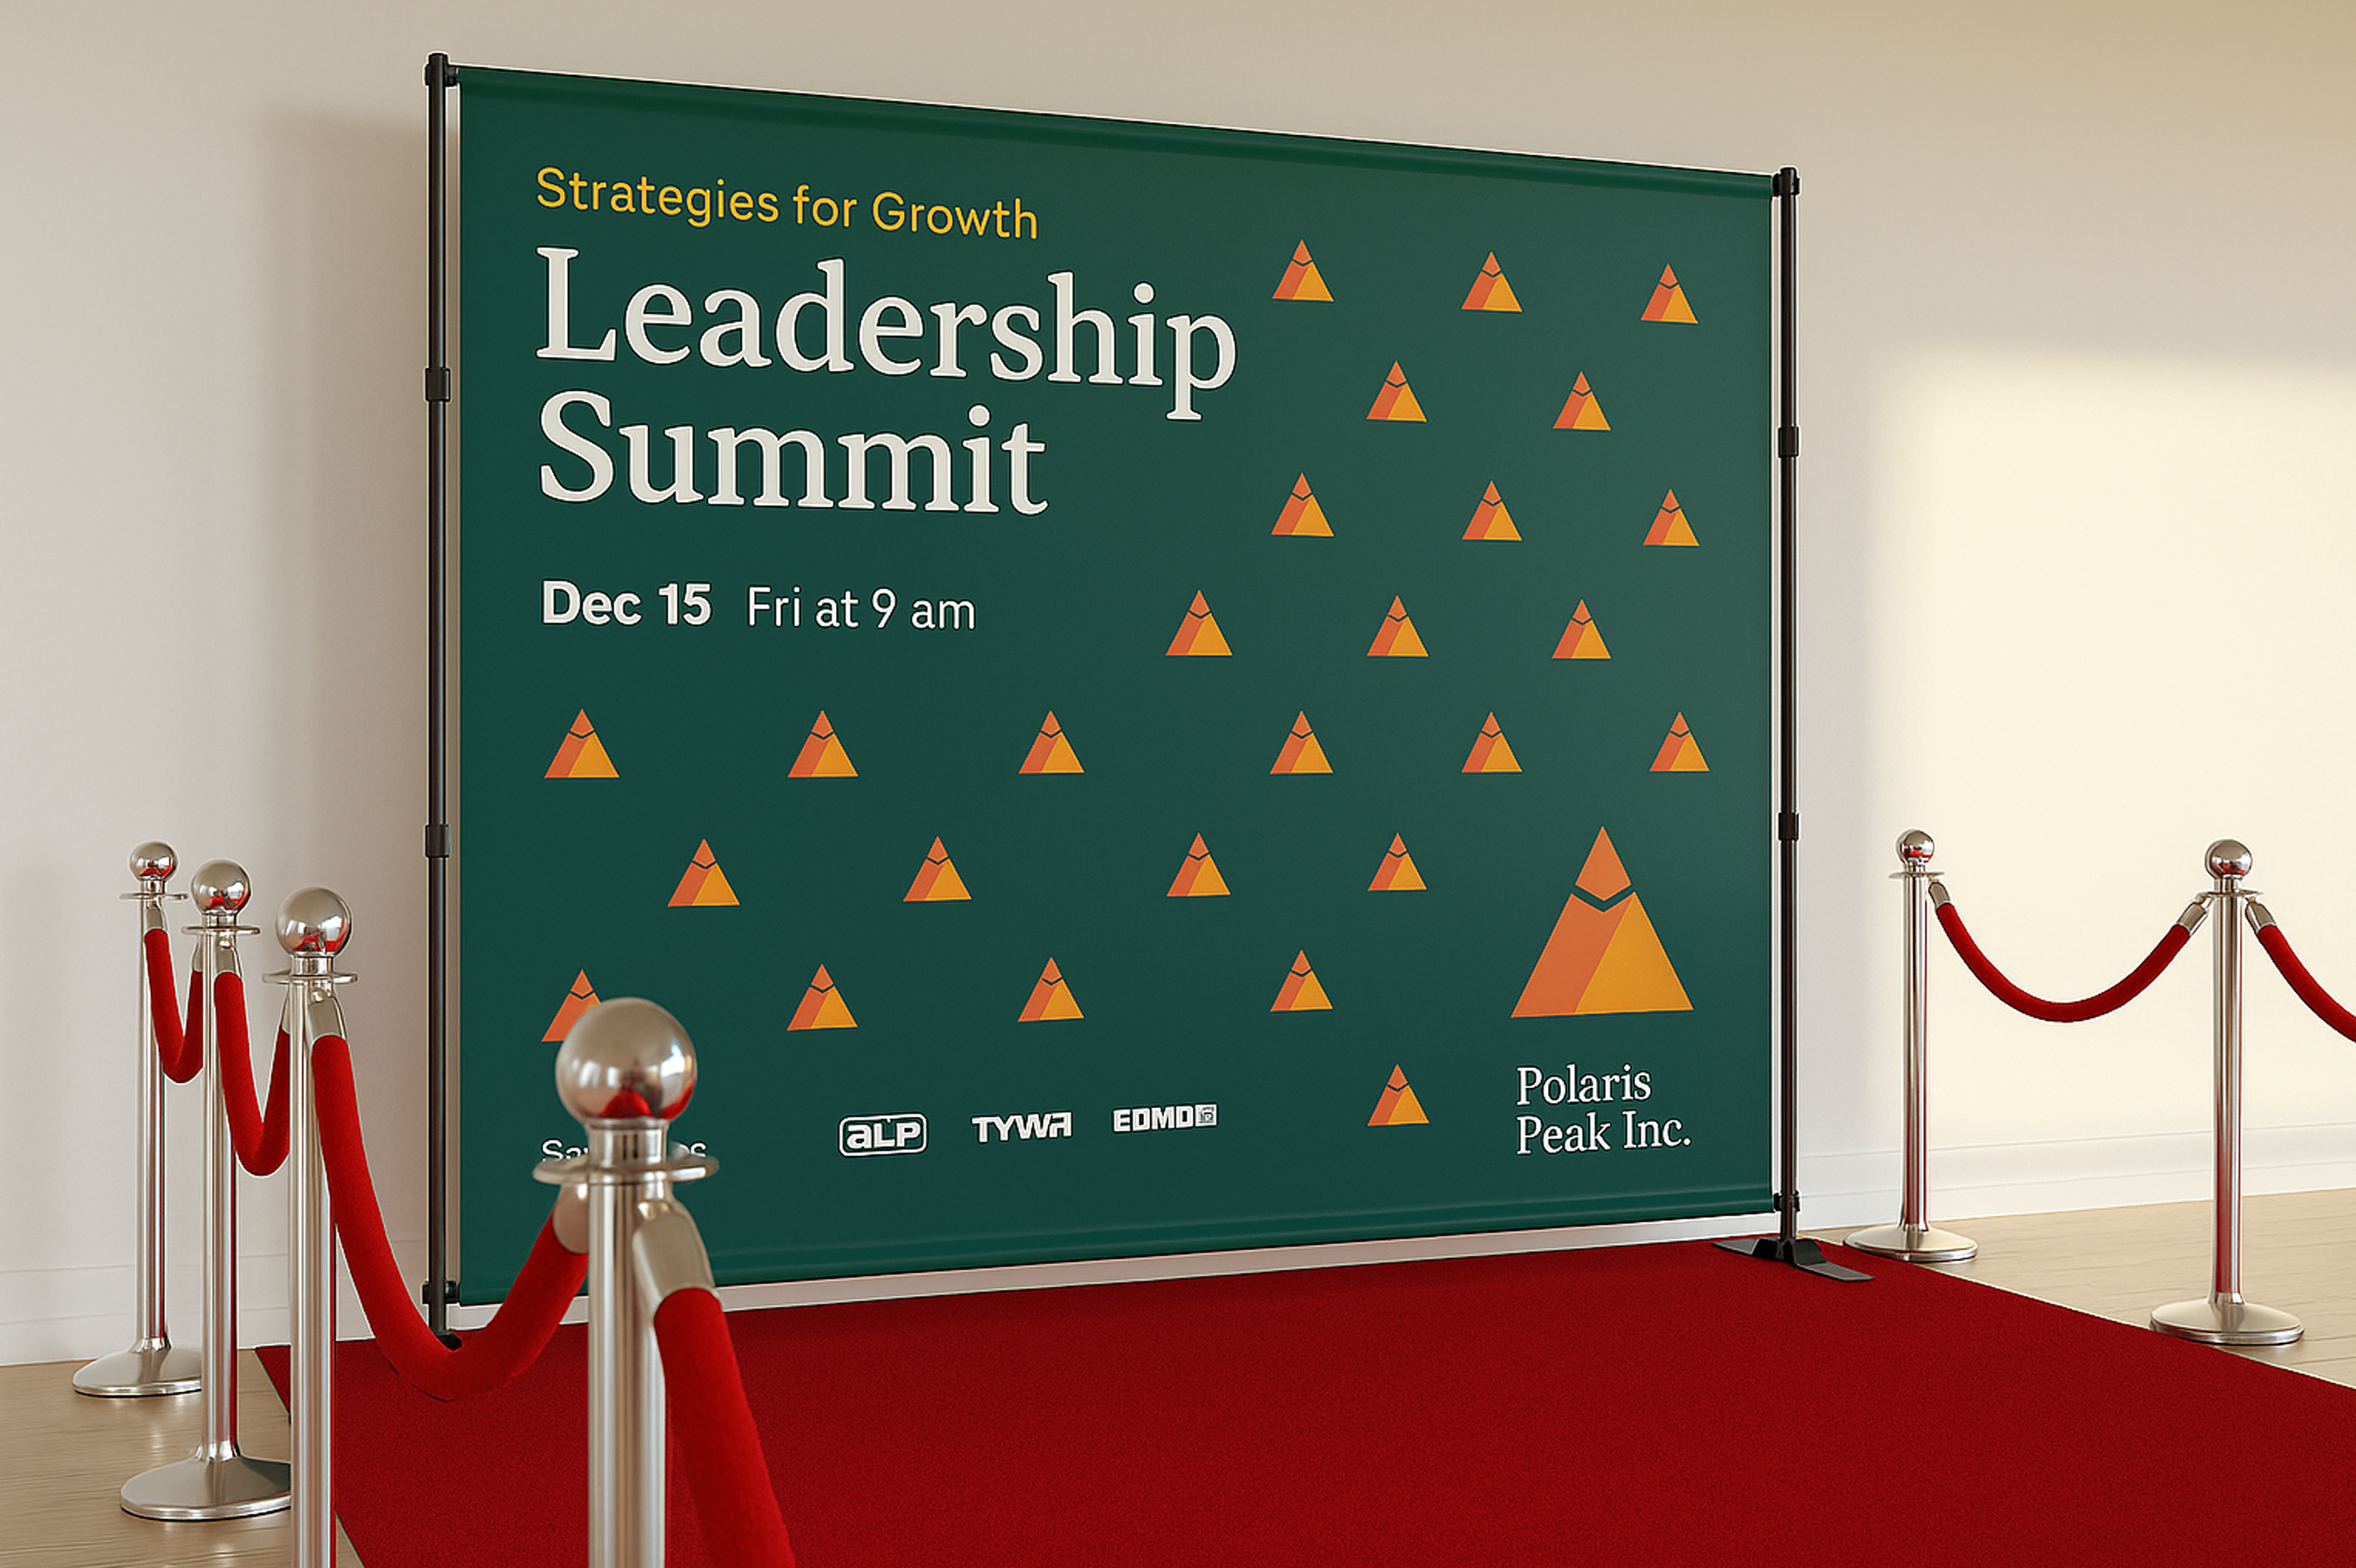
Stand out with our premium Large Tube Backdrop, designed for superior stability and portability. Unlike flimsy 1" tubing backdrops, our telescopic 1.625" diameter poles ensure unmatched durability for trade shows, photo booths, and events in Miami, FL. This adjustable telescopic banner stand fits various graphic sizes on 9oz wrinkle-free dye-sub fabric, delivering vibrant, professional visuals.
Perfect for On-the-Go Events
This portable photo backdrop stand assembles in minutes and includes a free carry bag for easy transport. Ideal for step and repeat backdrops, trade show displays, or red carpet photo backdrops, it’s a top choice for Miami events.
Why Choose Our Large Tube Backdrop?
- Telescopic 1.625" poles for best-in-class stability
- Wrinkle-free 9oz dye-sub fabric for vibrant graphics
- Adjustable for multiple banner sizes
- Quick assembly with free carry bag
- Perfect for Miami trade shows and photo booths
Elevate your brand with our durable, portable step and repeat backdrop, tailored for Miami, FL, events.
Spec
Graphic Material:
- Dye Sublimated Wrinkle Free
Print Features:
- Custom sizes - 6' x 4' up to 10' x 8'
- Hemmed edges
- 3" Pole pockets top and bottom
Hardware:
- Superior large tube aluminum hardware (1.625" diameter)
- Plastic locking collars
- Heavy-weight feet for stability
Accessories:
- Complimentary carry bag
file setup
- Accepted File Formats: JPEG or PDF (single page only)
- Color Space: CMYK
- Resolution: 150dpi for raster images (More than enough for large format)
- Max File Upload Size: 300MB
- Submit artwork built to ordered size - Scaled artwork is automatically detected and fit to order
- Do not include crop marks or bleeds
Additional Tips
- Do not submit with Pantones/Spot Colors - Convert to CMYK
- Convert live fonts to outlines
- Use provided design templates when available

Your submitted graphic should fit the exact dimensions of the print you ordered. There are 3” pole pockets at the top and bottom of this graphic. The seams from the hemmed pole pocket will be visible 3” from the top and bottom of the graphic.

STEP ONE
Step 1: Connect the two poles labeled #A-B by joining the B-B ends. Repeat with bottom poles #C-D. Extend telescopic ends A.
STEP TWO
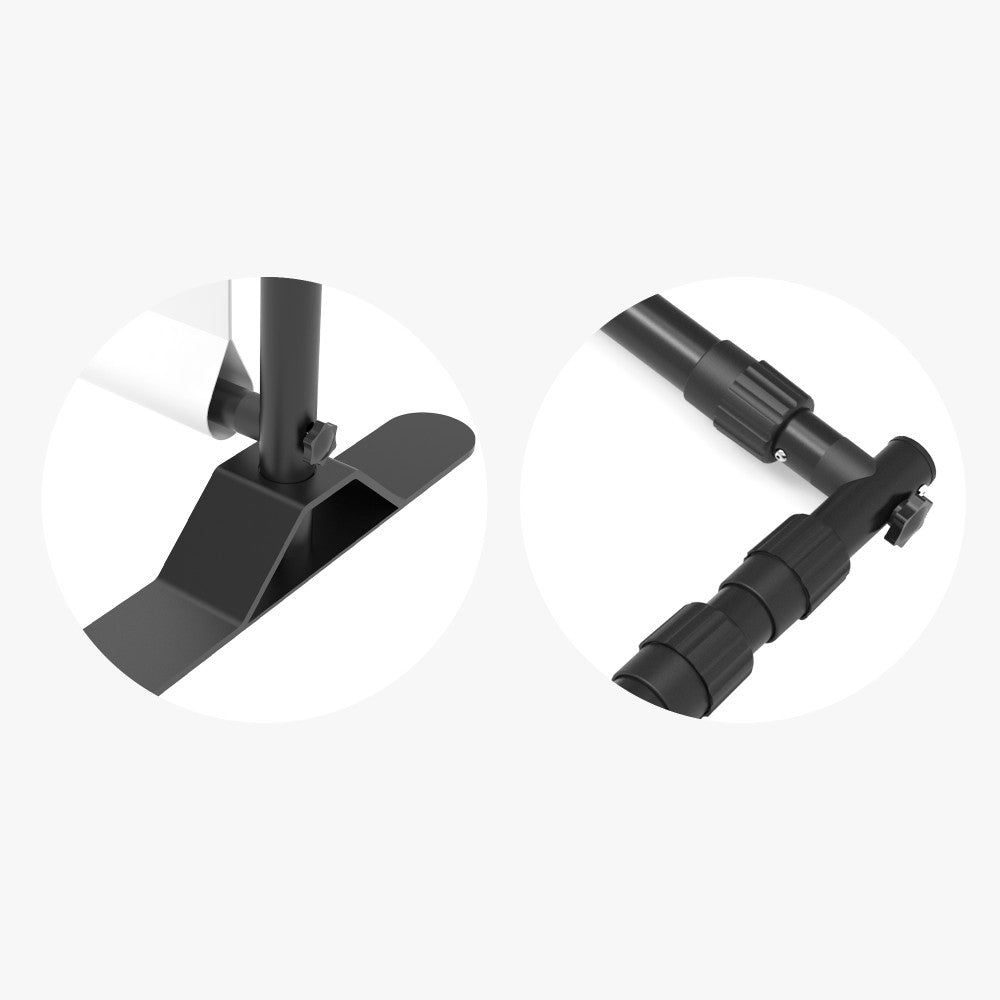
Step 2: Take vertical pole #A-C and insert end C into the pole socket in the base. From the bottom of the base thread hexbolt into end C and tighten.
STEP THREE
Step 3: Run poles #A-B and #C-D through the pole pockets on the top and bottom of the graphic.
STEP FOUR
Step 4: Use the black handled thumb screws to secure the horizontal poles to the vertical poles.
Installation Guide
Installing Your Tension Fabric Stand Is Quick and Easy
Step 1: Connect the top poles labeled A–B by joining the B-B ends. Repeat for the bottom poles C–D. Extend the telescoping ends labeled A.
Step 2: Insert the vertical pole (A–C) into the base socket. From underneath, secure it by tightening the hex bolt.
Step 3: Slide the top pole (A–B) and bottom pole (C–D) through the pockets on your printed backdrop.
Step 4: Use the black-handled thumb screws to attach and secure the horizontal poles to the vertical poles.
NEED A DESIGN FOR YOUR STEP AND REPEAT BACKDROP?
We’re here to make your custom product stand out. Whether you have a finished design or just an idea, we offer design services to help you bring your vision to life—fast, friendly, and exactly how you want it.
NEED HELP?
Have questions about this product? Reach out to us for assistance and our team will respond right away.

Your go-to partner for fast, reliable print and design — every time.